Crafting your message in EXM

Quick Links:
This tutorial is Part 3 of a mini-series on Sitecore's EXM functionality.
EXM Part 1 - Intro to Sitecore EXM (FTFM)
EXM Part 2 - Creating Contact Lists in Sitecore
EXM Part 3 - Creating an Email Campaign in Sitecore
Transcript:
In this tutorial, we’re continuing from where we left off in the last tutorial, where we were about to create the email message in Sitecore’s EXM.
So once we’ve clicked on the next tab along, labelled “Message”, you can start by adding a subject line in the top field on the page.
Then you can click on the message body, to open up the message in edit mode... which looks a little something like this!

We’ve chosen the “Newsletter template for demonstration purposes. Depending on the template that you've chosen, some layout and content may already be added to the message body. You can still edit most of this content should you wish to make any changes, but it's helpful to know that any changes made here do not affect the original template.
To edit the layout of your message, in the ribbon, on the Email tab:
-Click "Component" to add a new component to the message and for the relevant location, click "Add here" to choose the rendering for the new component.
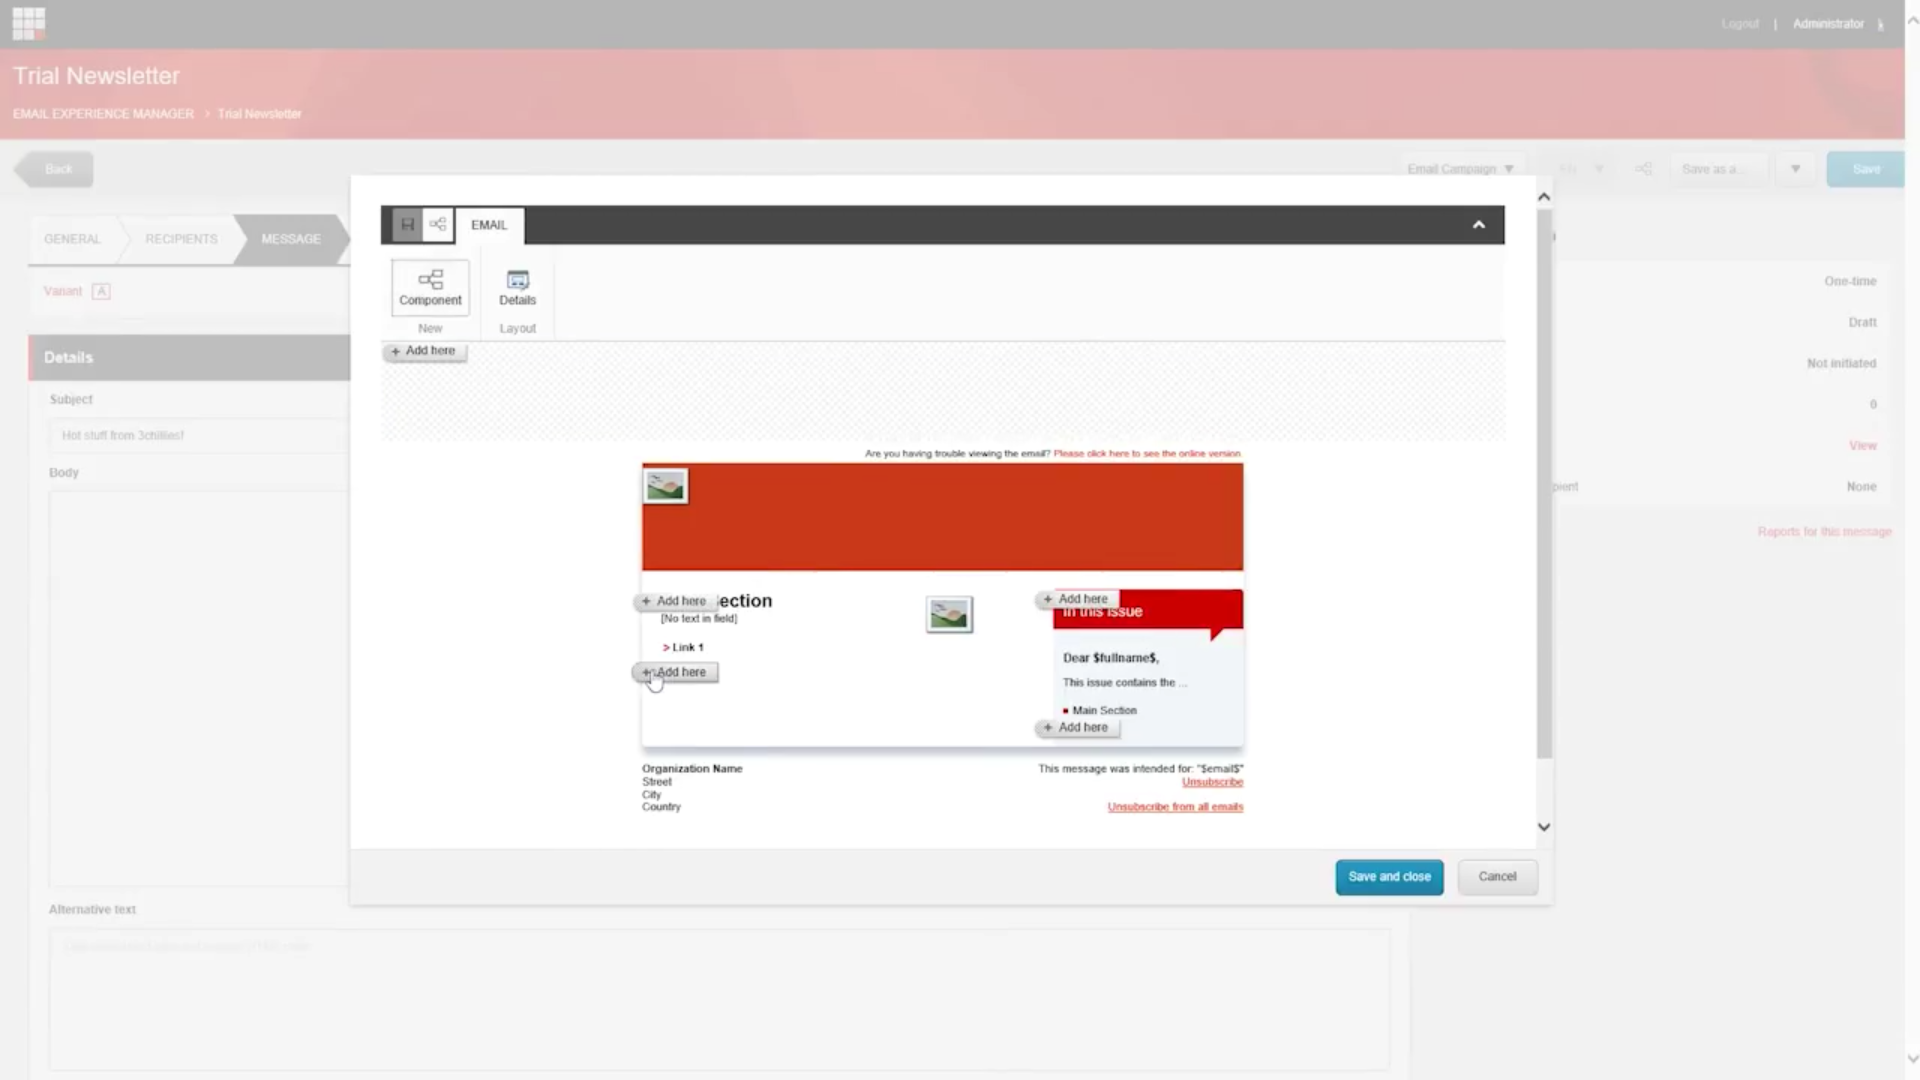
- Click Details if you'd like to edit the presentation details of your message or chose a different layout.
- When you are finished editing the content, click Save and close.
Scroll down on the page to find the Alternative text field and be sure to add text here.
Note
The alternative text is the plain text version of the message. For example, if the recipient's email client cannot read the HTML version of the message, the alternative text is used instead. There is a default message in the field, but you can enter any text that you want, for example, the full email in plain text.
After editing the Alternative text, save your changes.
Adding Attachments
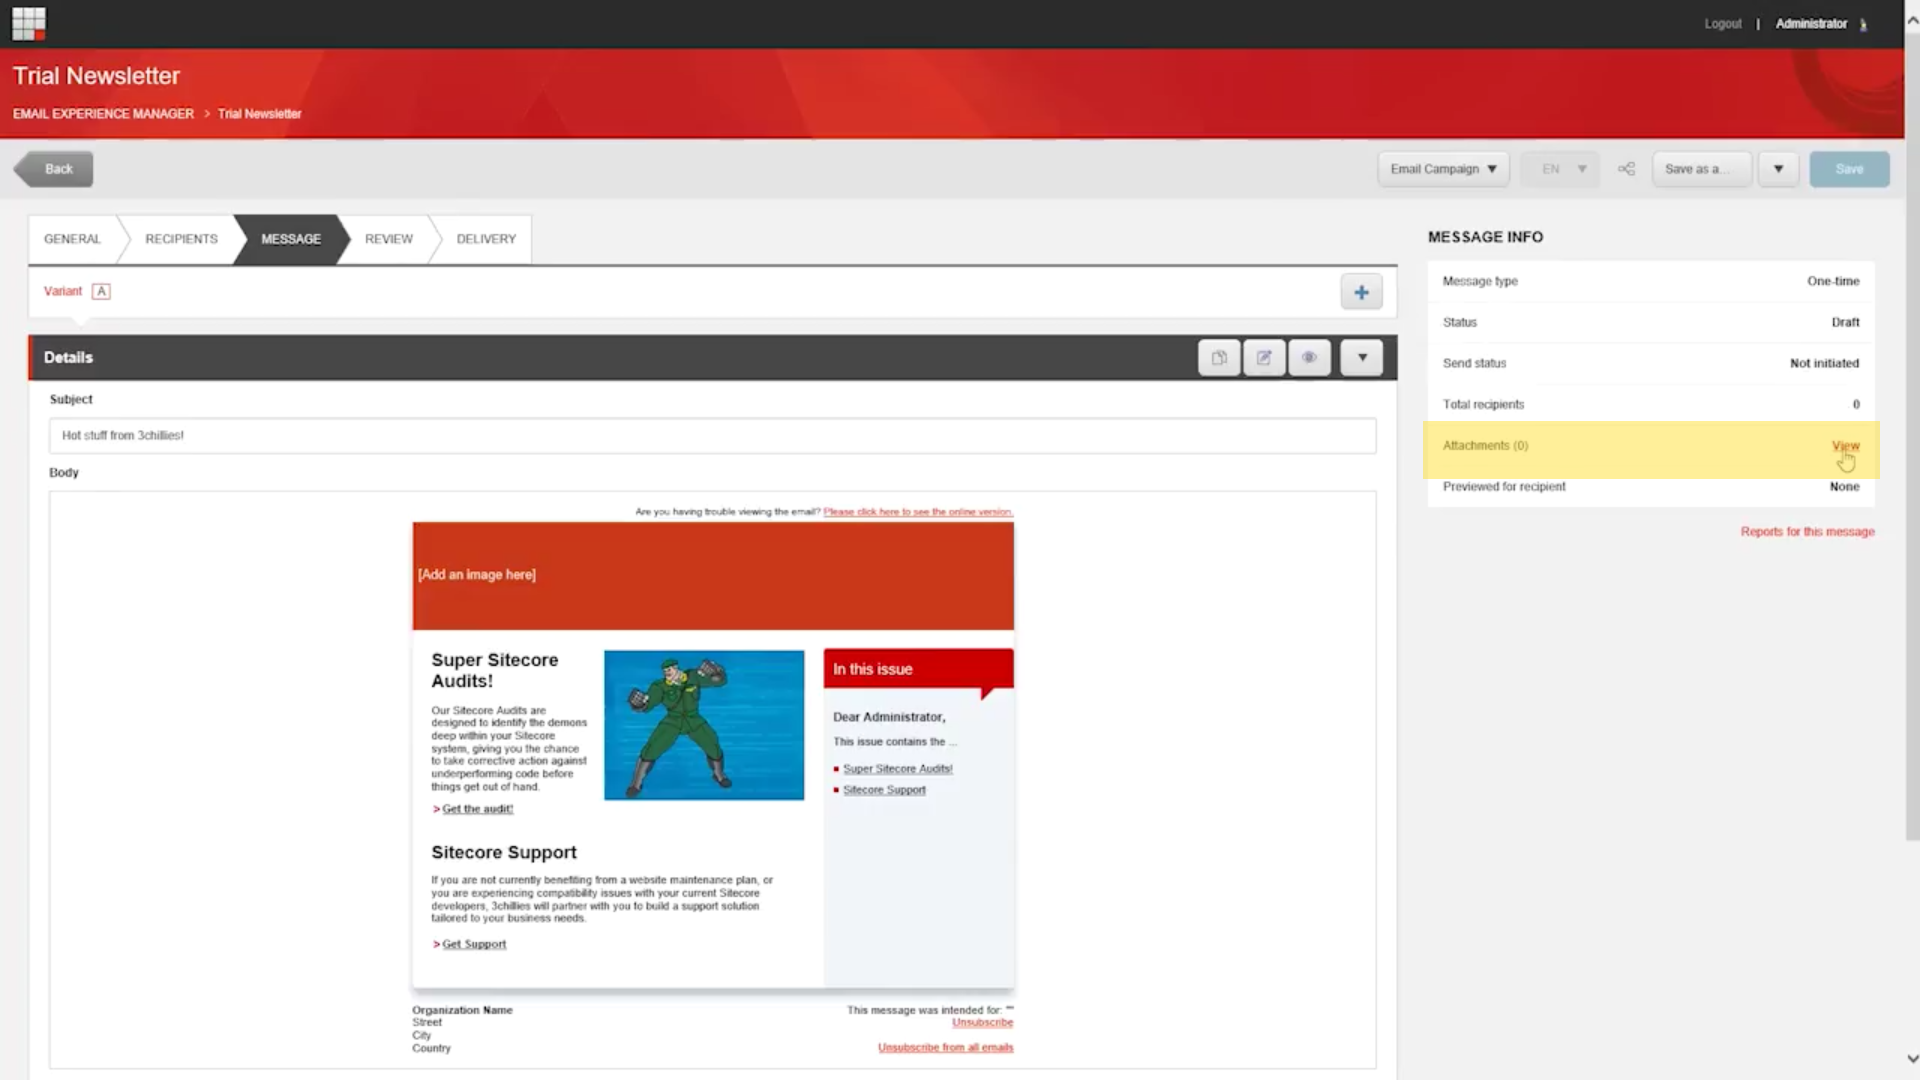
If you want to add an attachment to your message:
1. Makes sure you're back in this view, and click View, next to the attachment title in the box over to the right:
2. In the Attachments dialog box, click Add attachment.
3. In the Add Attachment dialog box, click Browse for files, click the file that you want to add and then click Open, and it's worth knowing that you can upload multiple attachments at the same time, but if you do that, the total size of all the attachments mustn’t exceed 7Mb.
4. When you’ve added all of the relevant attachments, in the Add Attachment dialog box, click Upload.
Do note though…
If you have multiple variants of your message, the attachment is added to all the variants in the same language and to every new variant that you create, so be aware of that! But if there are multiple language versions of the message, a notification appears asking you if you want to add the attachment to all the language versions.
5. Close the Add Attachment dialog box.
When you remove an attachment from a message with multiple language versions, the attachment is only removed from the currently selected language version. When you remove an attachment from a message with multiple variants, the attachment is removed from all variants.
So, to remove an attachment from a message:
1. Open the relevant message. If the message has multiple language versions, click the Language button and click the relevant language version.
2. In the Message Info pane on the right, click View.
3. In the Add Attachments dialog box, select the attachments that you want to delete and click Remove attachment.
4. Click Close.
Ok, so that’s the basic message set up. Now it's time to give it some bells and whistles with personalisation and the use of tokens, and that’s exactly what we’re going to cover in the next video.
