Personalise an email in EXM

Quick Links:
This tutorial is Part 5 of a mini-series on Sitecore's EXM functionality.
EXM Part 1 - Intro to Sitecore EXM (FTFM)
EXM Part 2 - Creating Contact Lists in Sitecore
EXM Part 3 - Creating an Email Campaign in Sitecore
EXM Part 4 - Crafting your message in EXM
Transcript:
In this video were going to be continuing the process of building our email campaign, focusing specifically on email personalisation.
When you look at the results of various polls and surveys carried out in recent years, many would have you believe that huge numbers of marketing professionals send “personalized” email campaigns to their clients on a regular basis. Well, that might be the case, but I’d hazard a guess that, in an email context, most people think the word personalisation as including the recipient’s name at the top of the email or in the subject line.
…That’s not really what I think of when I hear the words “email personalization”. To me, adding someone’s name to an email is no more than adding a couple of tags or what we call “Tokens” here in Sitecore, and whilst it’s a good thing to do, and it does make the email feel more personable, it’s a lot more powerful if you can combine that with the delivery of truly targeted, personalized content. That’s exactly what we can do with personalization in Sitecore!
So, consider this example. Let’s say this is our email template, and we’re going to send this particular email to a big list of prospects.
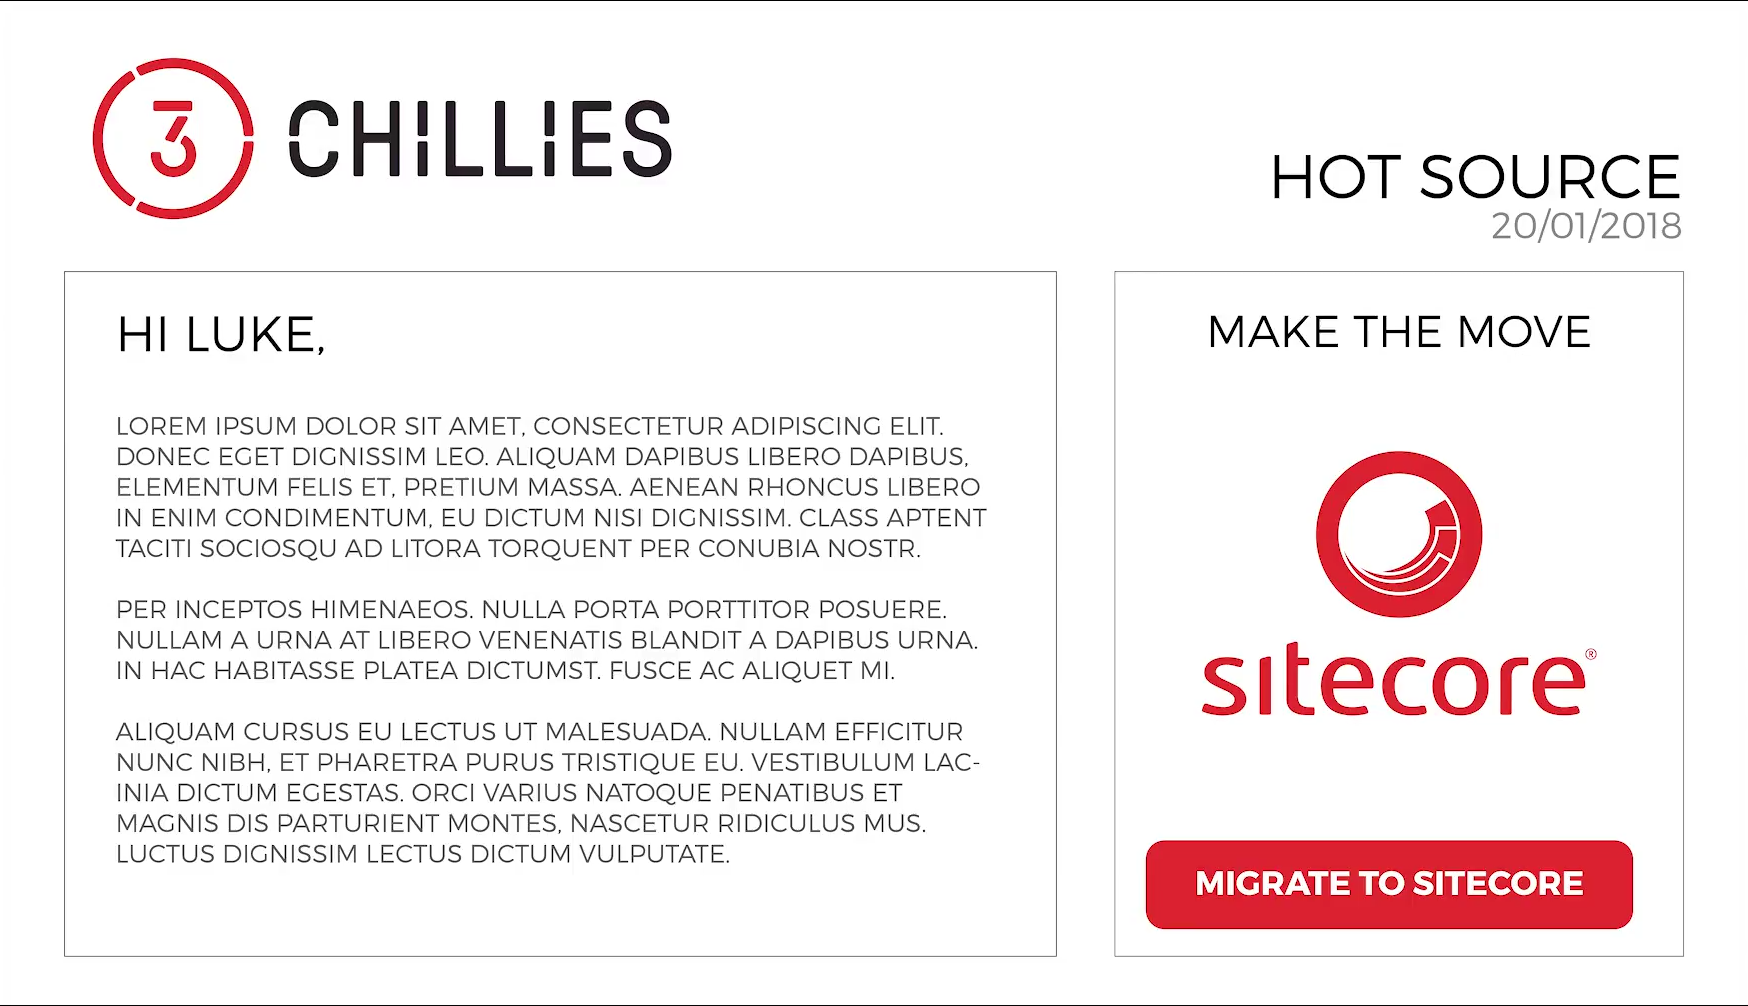
Well, here at 3chillies we offer a number of different Sitecore services and unless we use personalization, it can be quite difficult for us to offer the right services to the right prospect, at the right time, because each prospect is at a unique stage in the buying journey.
Well, if the buyer has been to our website, and visited a bunch of pages which paint the picture of an existing Sitecore user, we don’t want to waste our time sending them a “migrate to Sitecore” message.
It would be far more beneficial to tell them about our sitecore audit service where we offer to give their system a healthcheck to get rid of all the pesky bugs that seem to be causing a problem.
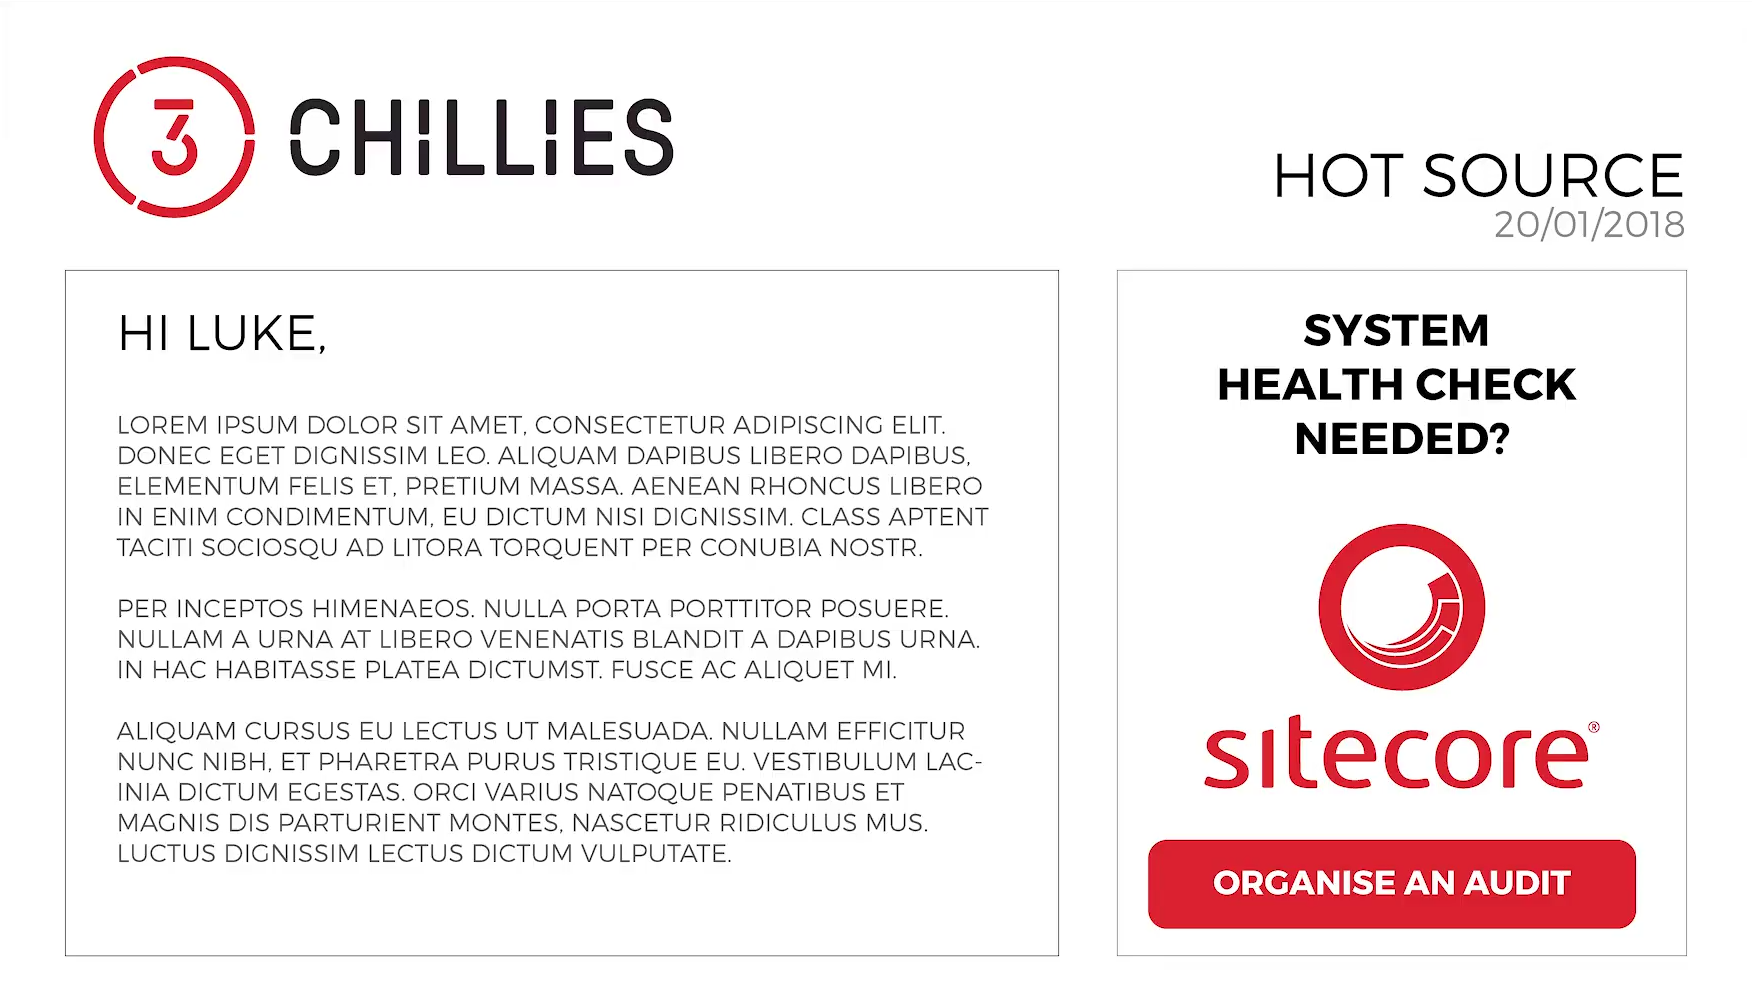
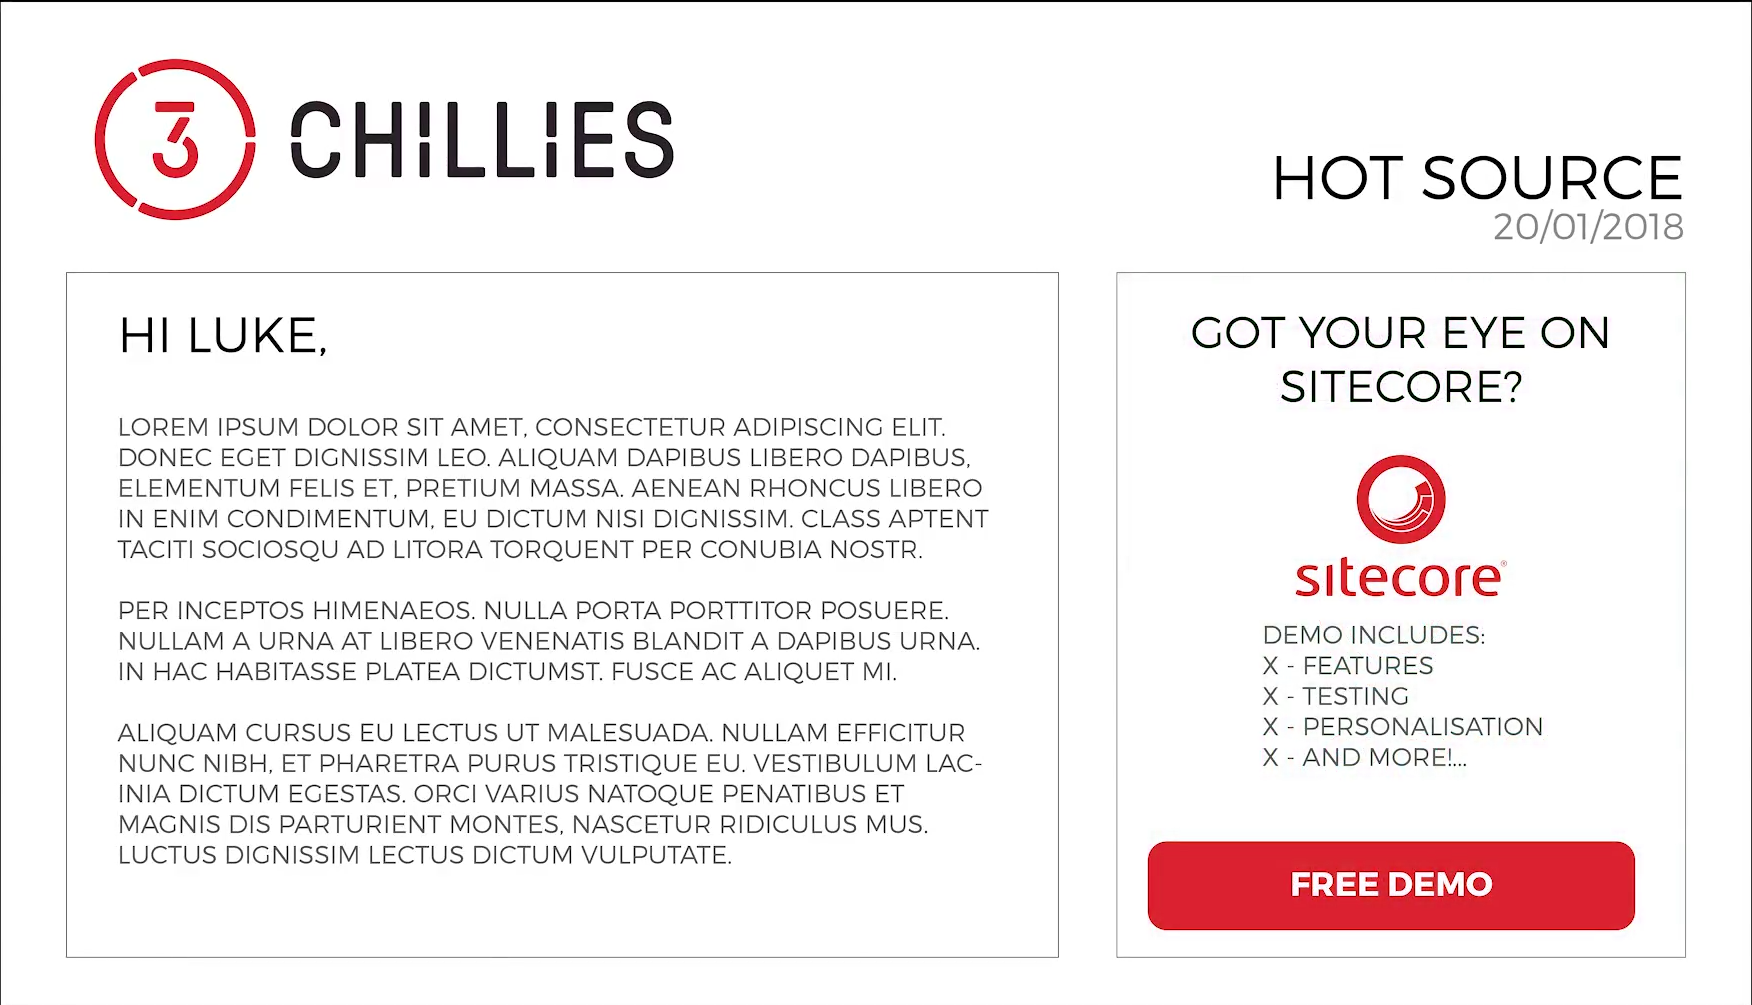
Equally, if we get the impression that the prospect is completely new to the idea of sitecore, we might use the same space in the email template to get them involved in a free sitecore demo!
To personalize a component in an email campaign:
1. Open the email campaign that you want to personalize, click the Message tab and then click the message body.
2. In the dialog box that opens, click the component that you want to personalize
3. In the floating toolbar that appears, this is the button you need to click right here. This is the Personalize the component button.
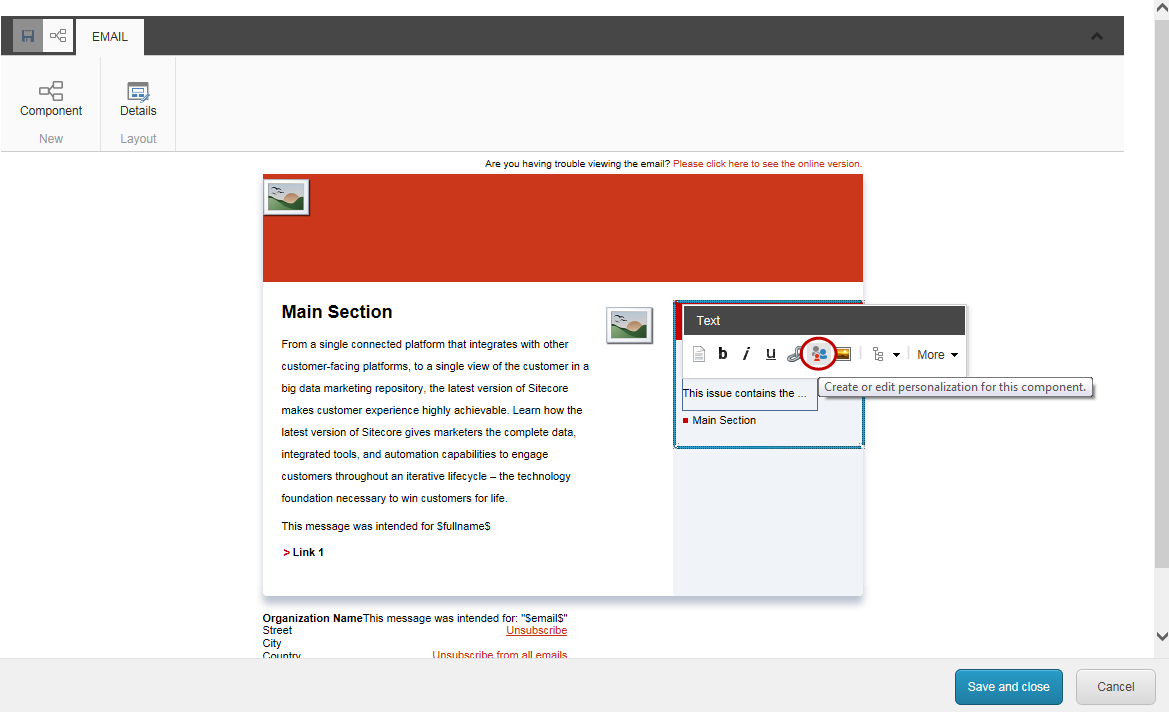
4. When you click into that button you can go about personalising your email! It’s as simple as that! Now, I’m not actually going to cover how to use the personalisation tool in detail because we’ve already covered how to do that in another video, but for now, it’s worth knowing that once you’ve mastered the process of setting up website personalisation it’s the same process for email personalisation.
Now, earlier, I mentioned the word “token”, and you can use tokens to make your emails a little more personable. For example you could use the token $name$ in the greeting so that when you send your email campaign, the token is replaced with the name in the contact.
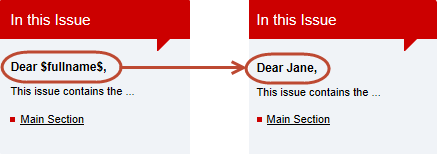
Do note that If the value in the contact isn’t available, the recipient will see the actual token so its important to make sure your contact list is clean and complete.
The following toKens are by default available in EXM:
• $email$
• $fullname$
• $name$
• $phone$
..and if you would like to use other information from the contact as a token in EXM, your Sitecore developer can add them for you.
To Insert a token in the Subject field or the Alternative text field:
1. Open the relevant email campaign and click the Message tab.
2. In the Subject field or in the Alternative text field, place the cursor where you want to insert the token.
3. Click Actions and then click Insert token.
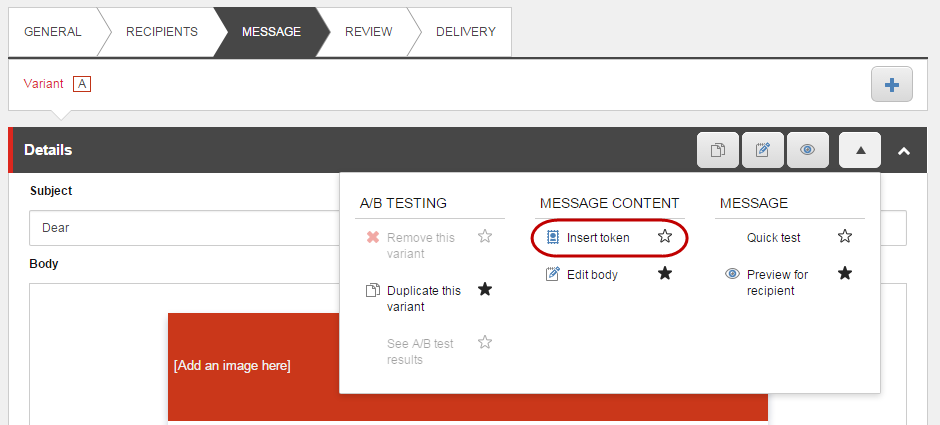
4. In the Insert Token dialog, click the relevant token to insert it in the relevant field.
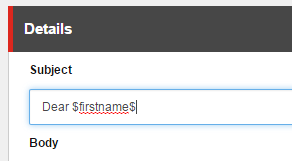
If you know the name of the token you can type the token directly in the field, for example, $lastname$.
5. Save your changes.
If you want to Insert a token in the message body:
1. On the Message tab, click the message body to open the message in editing mode.
2. Click the field where you want to insert a token.
3. If it is a rich text field, you can also insert a token in the Rich Text Editor. Click the relevant field, and in the floating menu that appears, click Edit the text .
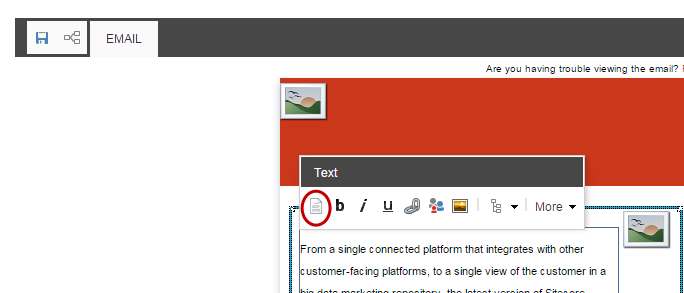
Again, if you know the name of the token you can type the token directly in the field, for example, $lastname$.
4. In the rich text editor, place the cursor where you want to insert a token, click Insert Field and in the drop-down menu, click the token that you want to insert.
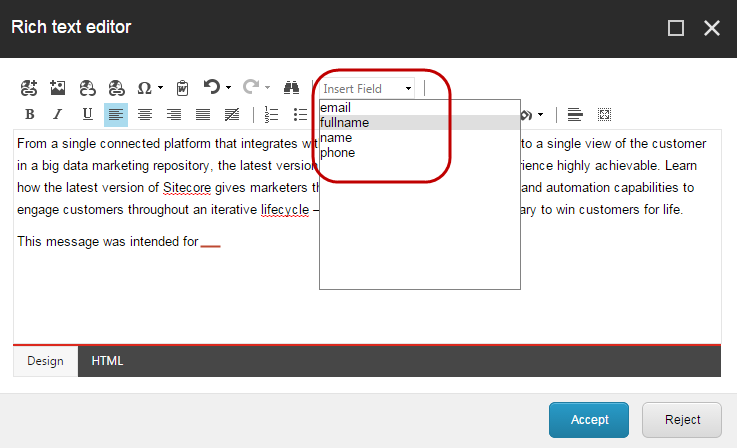
5. Click Accept.
To Preview the token for a specific recipient:
1. On the Message tab, in the Details section, click Actions and then click Preview for recipient.
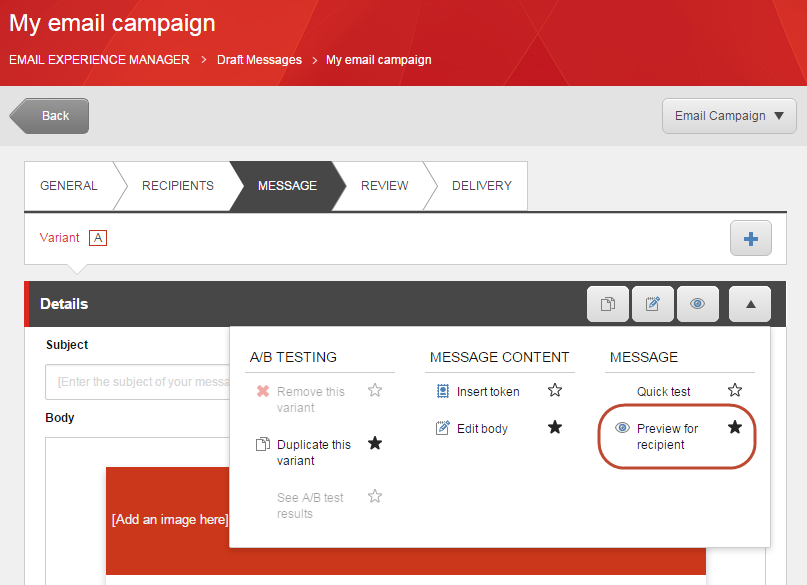
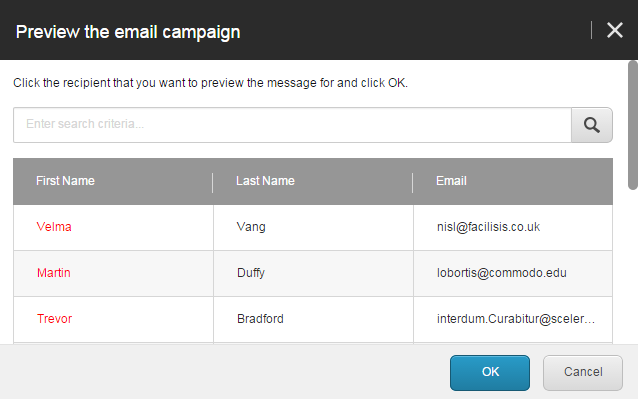
2. In the Preview the email campaign dialog box, click the recipient that you want to preview the message for and click OK.
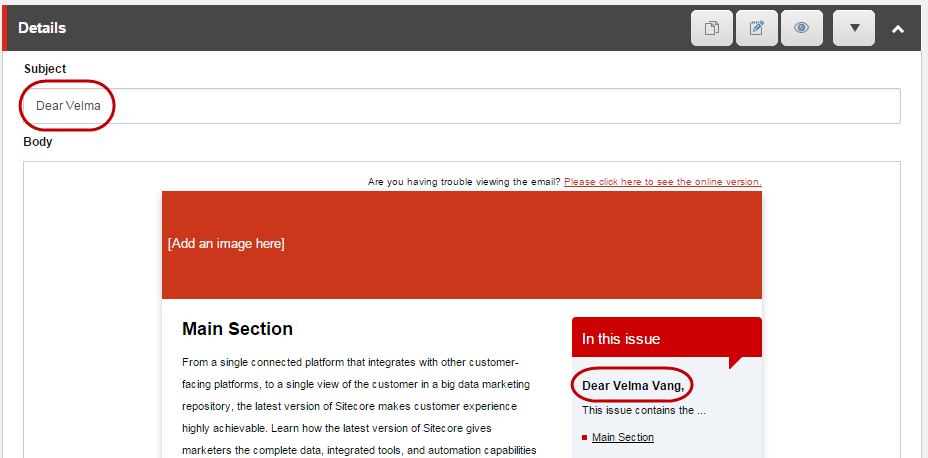
The Message tab now displays the message with the appropriate contact values instead of the tokens.
Ok so that’s it for this tutorial. Now you’re ready to go ahead and start adding personalised messaging to your emails, safe in the knowledge that your emails will stand out from the crowd, because your messaging is far more relevant and timely than your competitors’.